Take and Manage Screenshots easily with Shutter
Installing Shutter
To install shutter issue the following commands in the terminal (Application -> Accessories -> Terminal ) window. These commands would add repository of shutter to your local list of repositories and allow you to download and install shutter using apt-get command or synaptic package manager.
NOTE: The commands are for Ubuntu 8.10 Intrepid Ibex only for other version of Ubuntu or Distributions see Shutter website
sudo echo "deb http://ppa.launchpad.net/shutter/ppa/ubuntu intrepid main" | sudo tee -a /etc/apt/sources.list
and
sudo echo "deb-src http://ppa.launchpad.net/shutter/ppa/ubuntu intrepid main" | sudo tee -a /etc/apt/sources.list
and
wget -q http://shutter-project.org/shutter-ppa.key -O- | sudo apt-key add -
and , finally
sudo apt-get updateNow , Once you are finished adding and updating repository data issue this command to install shutter on your computer.
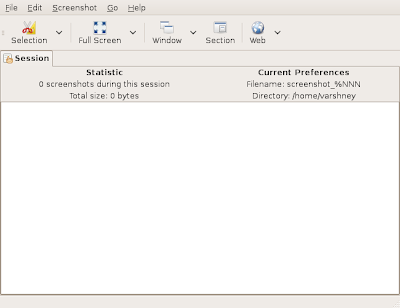
sudo apt-get install shutterNow you can launch Shutter from (Applications -> Accessories -> Shutter - Screenshot Tool ). First time you launch Shutter you will find a screen similar to one shown here.

Now , Shutter offers five different options for taking Screenshots which you can chose from (File -> New ) , these options are :
- Selection : This allows you to take Screenshot of a particular section of the screen.
- Full Screen : As the name suggests allows you to take screenshot of entire screen.
- Window : This allows you to take Screenshot of a particular window
- Section : Section allows you to take screenshot of particular part of Window or Screen. This is slighltly different from Selection as you dont have much control over the area you want to copy.
- Web : This is probably the most interesting option , this option allows you to type in an URL and shutter would take screenshot of the webpage at that URL.
Shutter Selection option for taking screenshot of user defined area of screen
I tried Web option on my Ubuntu installation but for some strange reason it did not work. I am not sure whether this is actually a bug in the application or something related to my system's configuration (as I am using proxy to access Internet).
Once you have taken Screenshot , you can perform basic editing on the Screenshot using built-in shutter DrawingTool it has a number of simple image editing tools like Pencil , Eraser , Rectangle , Ellipse , Text etc.
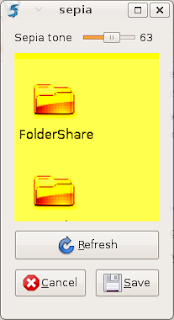
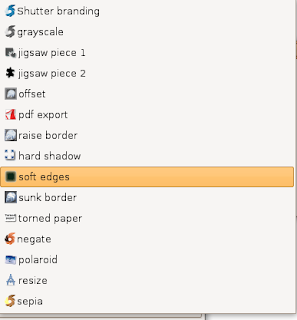
Finally , Shutter comes with a number of plug-ins preloaded that allows you to add number of different effects yo your Screenshots like Grayscale , pdf export , soft edges , sepia etc.


Shutter Sepia Plugin and Different default plugins available in Shutter
 File sharing Website configuration
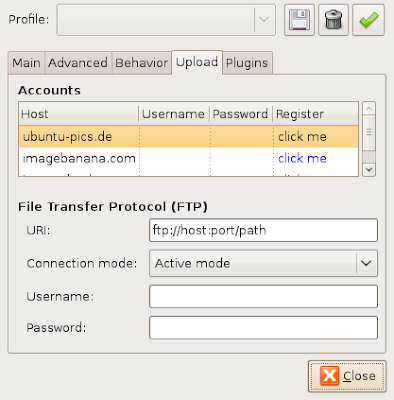
Shutter also allows you to configure online photo sharing accounts enabling you to take screen shots and upload directly onto these photo sharing websites like Imageshack. However , as i was having problem connecting interent through Shutter I wasn't able to try this feature.
Conclusion : Shutter might not be a revolutionary desktop application but it can prove to be extremely useful for people like me who spend a lot of time taking screenshots of application. Shutter with extremely simple and user friendly interface should prove to be extremely useful tool in each bloggers arsenal.
Article Written by : Ambuj Varshney (blogambuj@gmail.com)
For Linux on Desktop Blog , http://linuxondesktop.blogspot.com
(C) 2009 , Ambuj Varshney
Article Written by : Ambuj Varshney (blogambuj@gmail.com)
For Linux on Desktop Blog , http://linuxondesktop.blogspot.com
(C) 2009 , Ambuj Varshney


Nice post , shutter looks impressive!
ReplyDeleteThanks for this post. I was for a long time looking for such a utility.
ReplyDelete-binvij